I chose one of the hardest looking cakes in the book again! I really enjoy doing choosing a difficult cake because if I can't somewhat do or complete the hardest cake, then I've learned almost nothing; need to try harder and start over again and again until it comes naturally. Thankfully, it has all come so easily for me. I was a bit hesitant for this course. Starting with Thursdays with Cake Crumb Girl, The roses were extremely difficult for me and never worked out right. And I knew that more difficult flowers than the rose would be covered in this course.
I can now look through my old pictures and laugh at them. I've learned the correct way for doing practically anything and everything I never thought possible in the way of cake decorating. And the friendships I've made at these courses...are extremely priceless, my one and only classmate, Elba was going to go on and finish the courses but decided today that she wants to continue them with me. She'll be starting back up in January with me for course 3! It's so great to know that I'll have a fantastic friend to join me in the rest of my Wilton Cake Decorating journey.

Above Picture ^: The basket weave and the reverse shell was covered in the lesson today. I tried doing the basket weave during Thursdays with Cake Crumb Girl. And I did it completely wrong!(There are way easier ways to do it!) The above picture was done with tip 21.

Above Picture ^: First, I lined up my cake. First I put a line in the icing with a spatula, then I went directly across and made a line in the icing there as well, then I spun the turntable to half way between the lines, then went across from that line and made another impression in the cake until it was divided into fourths.And then, divided the fourths in half, and continued doing this until the lines were almost equally a little less than one inch apart. (Believe me. This alone makes basket weaving on a cake so much easier)

Above Picture ^: I started by creating a line from the bottom of the cake to the top, and then added another line directly on top of that line. Then I made stars (called spacers in this technique) on about the next line away. Next, I created a line straight across from one spacer, over the line and ending right after the second spacer, and did the remaining two.(Go to next picture)
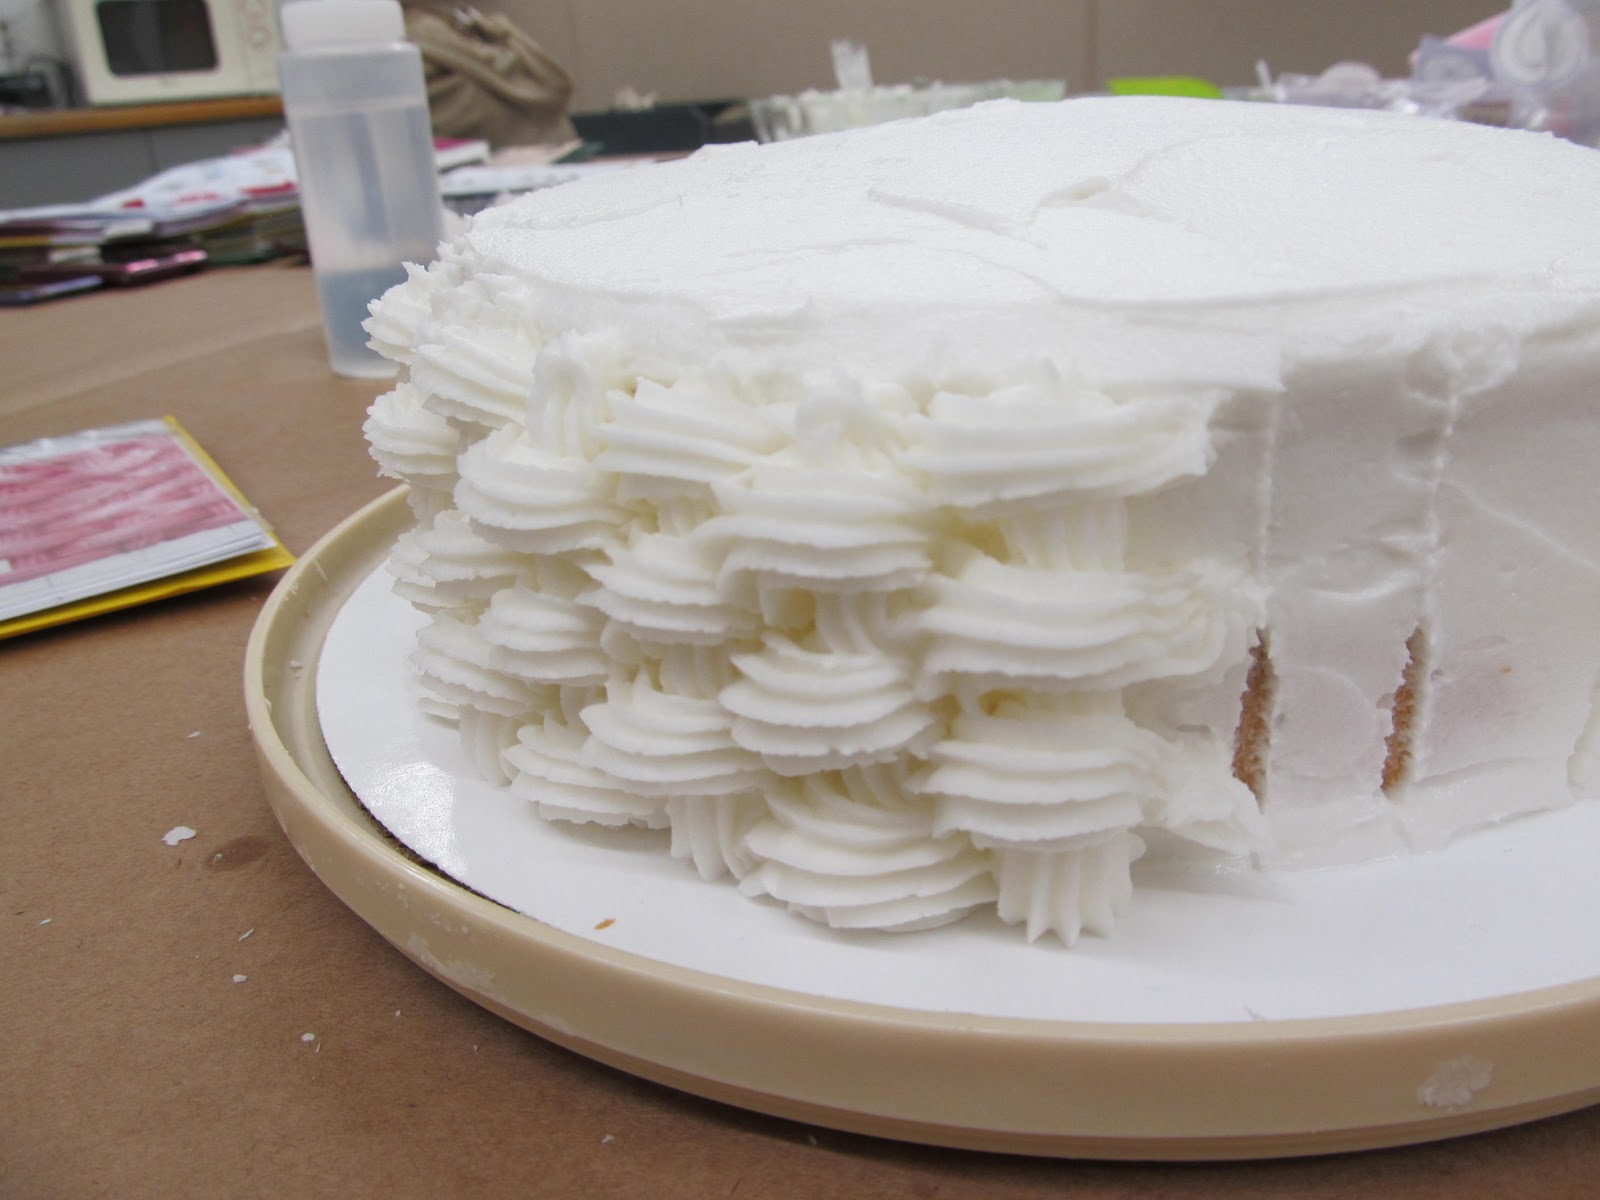
Above Picture ^: After connecting the spacers with a line, there were spaces between the double line and the spacer to the right, where I piped at a 45 degree angle at 4:00 and squeezed until the next line, and then created spacers on top of where that line ended and piped another line from the bottom of the cake to the top. And so on etc... (if you have any questions on how to do this, just comment and ask me.)

Above Picture ^: And finally I piped a basic shell border around the top of the cake, created a small mound of icing in the middle, and began placing my roses made with royal icing, a week in advance.

Above Picture ^: My Final cake of Course 2 is complete!!

Above Picture ^: My lovely classmate's cake.

Above Image: Elba is the lovely lady wearing a gray shirt and black belt, Mrs. Cristal is the wonderful woman sitting in the front and last, but not least, I'm the one standing with a pink scarf and black shirt.
I can't wait to see these wonderful girls again!
Have a fantastic week!
-Cake Crumb Girl
No comments:
Post a Comment